


 52
52 0
0 3
3 7
7 0
0 0
0


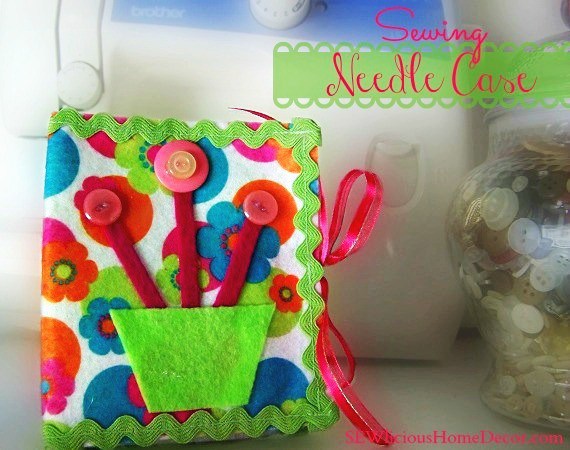
Hello friends and welcome to another Tuesday’s craft room feature. Today I’m featuring a Need-le Little Love Sewing Case. Perfect for keeping all your needles safe and in one place!
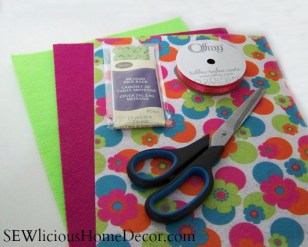
Supplies you will need:
Felt-One for front, one for back
and one for flower pot. I used
stick-on felt.
Ribbon
3 Flower buttons
If you buy your supplies at Joann’s or Michael’s, don’t forget to print out a coupon on their website!
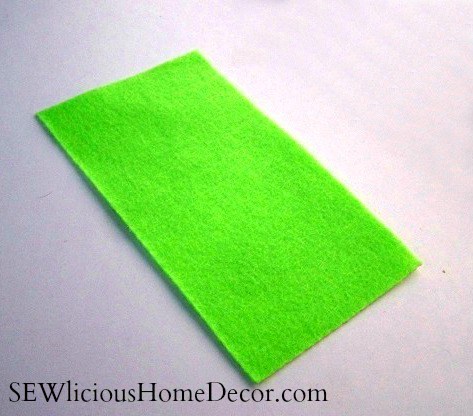
Cut one piece of felt 5′ x 9′. Fold in half (long ways) and gently iron a crease in the middle.
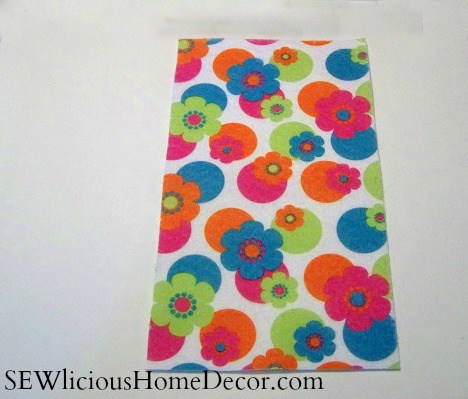
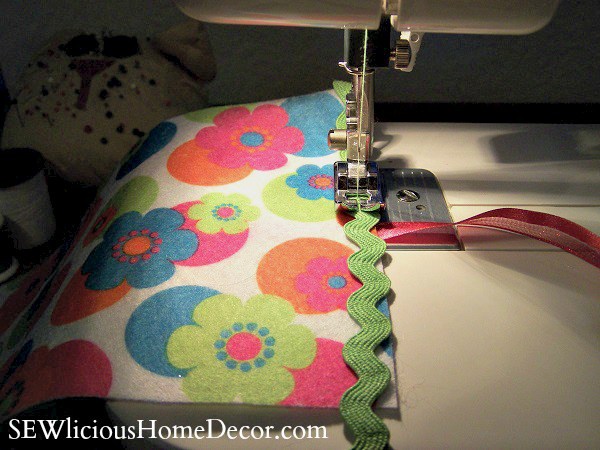
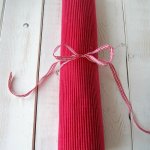
Sew rick rack onto edges. Sew the 2 - 5′ inch edges first, then the 2 - 9′ inch edges. Fold over 1/2′ inch of rick rack on other side of felt when sewing so you don’t have a raw edge of rick rack showing on the end. When sewing the 5′ inch edges, place one ribbon in the middle of the edge extending about 1′ inch on the back side. You will sew this to the edge while you are sewing on the rick rack. This will be the tie.
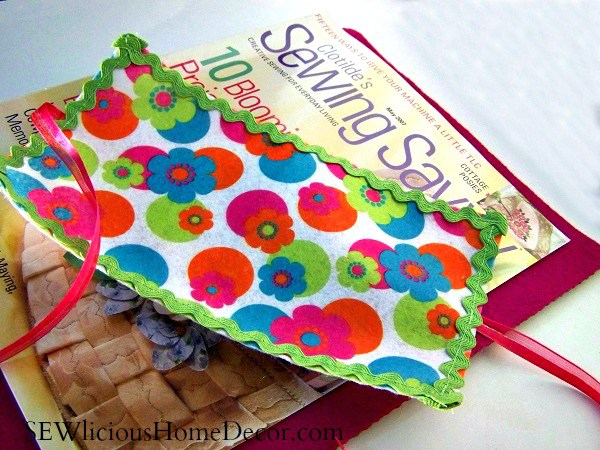
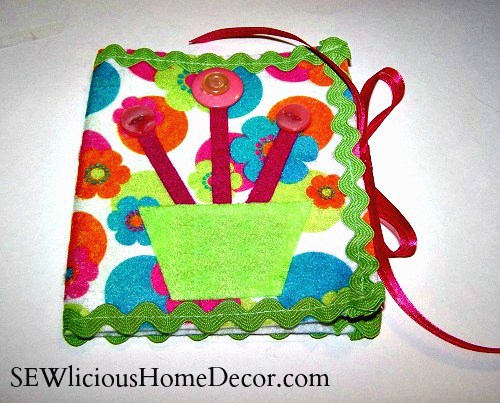
It will look like this when finished.

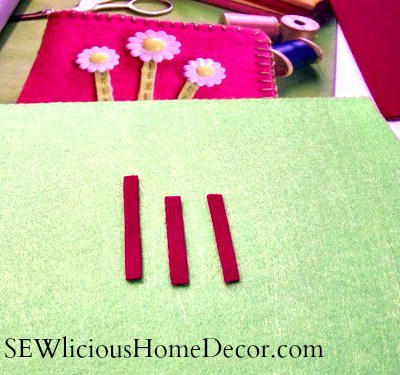
Next, cut out the flower pieces. For the flower stems you will cut 2 strips 1/4 by 2′ inches long, and 1 strip 1/4 by 2 1/2′ long. For the flower pot download the pattern here…Download Flower Pot Pattern.
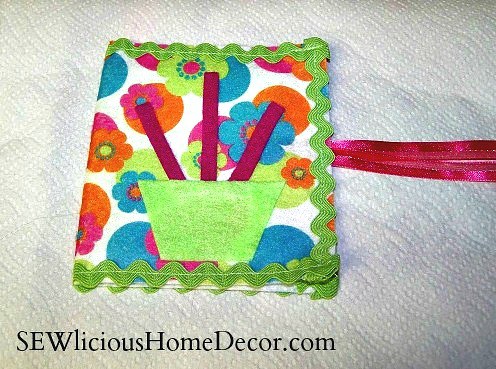
Center the pieces the way you want them on the front. If you are not using the stick on felt, use a glue stick to hold the pieces in place, then use embroidery thread to sew them in place, or you can fuse them on.

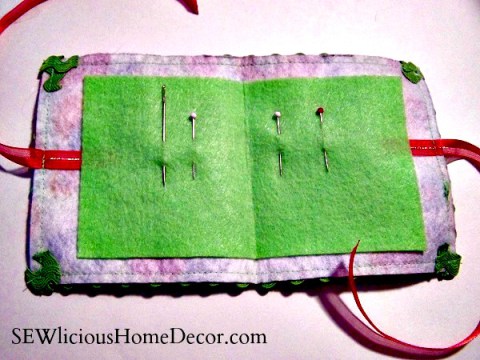
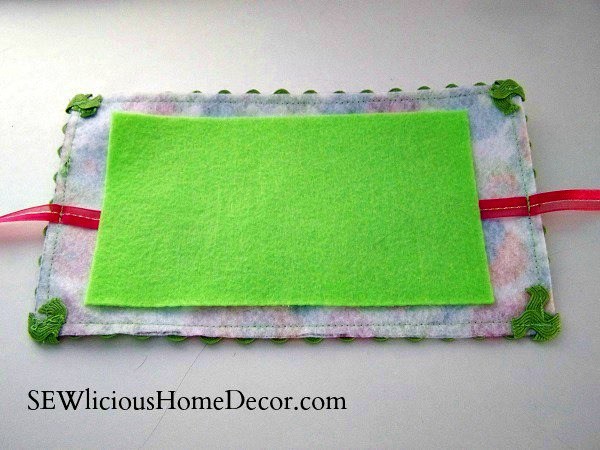
Cut one piece of felt 4′ x 7′. This will be placed inside. (on other side of felt) Fold in half and gently iron.
There are several ways you can apply this. You can use the stick on felt like I did, you can fuse it on or simply glue it on.
See how the edges of the ribbon extend about 1′ inch…this is so the 4′ x 7′ inch felt piece will cover up the raw ends.
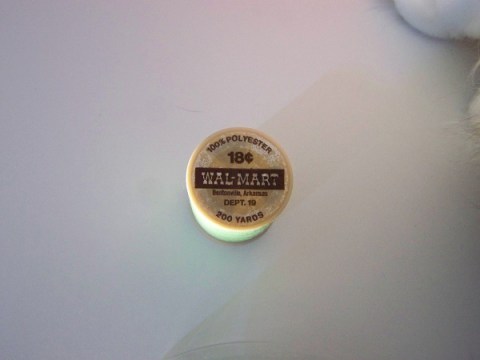
I found this thread in my sewing box, I wish I knew how old it was!
Apply the buttons for your flowers. I do this last since it makes it bulky to work with. You can also add buttons the shape of flowers.
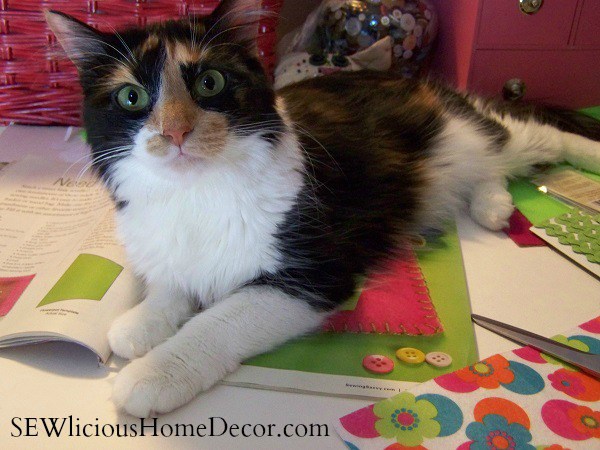
I have had several people ask my how I keep my cats out of my crafts. As you can see from the picture, I can’t! Especially when you have 4! Sometimes I just have to shut the door and keep them in the other room.
You have a chance to win this one. Just use the easy entry options below. Giveaway ends 8/20.
Follow SEWlicious Home Decor’s board SEWlicious Sew’en Stuff on Pinterest.

This post contains affiliate links. See my Disclosure Policy. Featured at The Crafty Blog Stalker

Related Posts
 Placemat with Plastic Baggies Sewn Into A Roll up Organizer
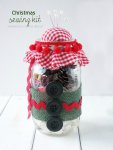 DIY Christmas Sewing Kit
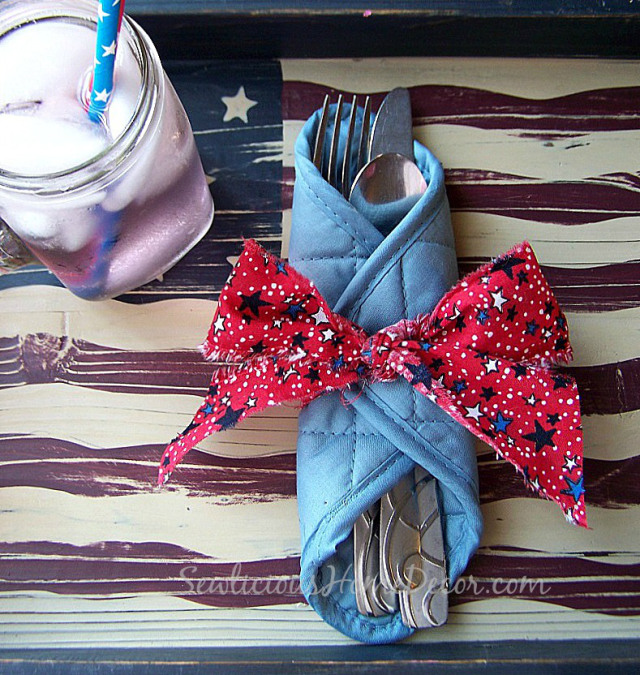
- Holiday Utensil Holder Napkin Tutorial
- Holiday Basket Napkin Tutorial
- Holiday Flame Napkin Tutorial
- DIY Tissue Paper Tassels Banner Party Decorations
 10 Must Have Laundry Room Organization Ideas
- Pot Holder Organizer with Plastic Baggies Tutorial
5203700 


Beautiful needle case. I have just started using felt and I love it.
Thank you, Marie! I love working with felt, too!! I’m currently working on a post of felt flowers so be sure to check back soon!
Hi Marti. I just emailed you my address. Thank you so much
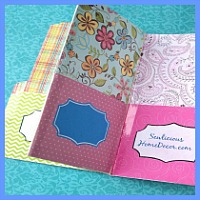
Hi again. ‘Just realized that I bought a piece of felt exactly like that flowered one a while ago
I loved all the bright colors…..I remember when felt only came in solid colors I’m so glad they make pretty felt now! I’d love to see what you make with yours!
These are really cute!!! I love that they wouldn’t take up much space making it ideal for travelling. Would make a nice gift as well.
Sharing and Pinning
New follower via “Blog Stalking Thursday”.
Have a great weekend!
Bismah @
http://simplemamaathome.blogspot.com/
Glad you like it! I thought it would be great for traveling, too. Thank you for the follows.
What a nice giveaway gift! I entered many times, lol!
Thank you! I hope you win.
Great idea! Can these be sold? If I win, I’ll keep it. It’s way better than my “ouch box”….
Yes, They are sold for $6 plus shipping.