
An easy Pot Holder Organizer with Plastic Baggies tutorial made using a pot holder and small sized plastic baggies. Plastic baggies are sewn onto the pot holder for easy organization uses. Fold the pot holder in half to close and take with you. Store sewing supplies, beauty supplies, or snacks in the baggies. Perfect for on the go!


If you have a sewing machine, you can do this! It’s super easy and super quick!
Here’s what you will need:
One square pot holder
Small sized plastic baggies
Ribbon and button
Paper clips
 I used 5 plastic baggies on each side. You can use more if you wish. First, start off by paper clipping the baggies together so they don’t slide around when you are pinning them in place.
  Pin your baggies in place. The bottom end of the baggies will overlap the center of the pot holder so that the top ends of the baggies are lined about 1/4 inches away from the edge of the pot holder.
  Next, Pin the other set of baggies in place. They will overlap the other set of baggies in the center.
Fold the pot holder in half to find the center and sew the baggies in place right down the center.

Sharpen your sewing skills!
 Sew a decorative ribbon over the stitches and around the front side of the pot holder. Fold the end of the ribbon down about 1/4 inch so the raw edge of the ribbon does not show. Use the loop on the pot holder as your closure and sew a button on the front side so you can close the pot holder wrapping the closure around the button.
 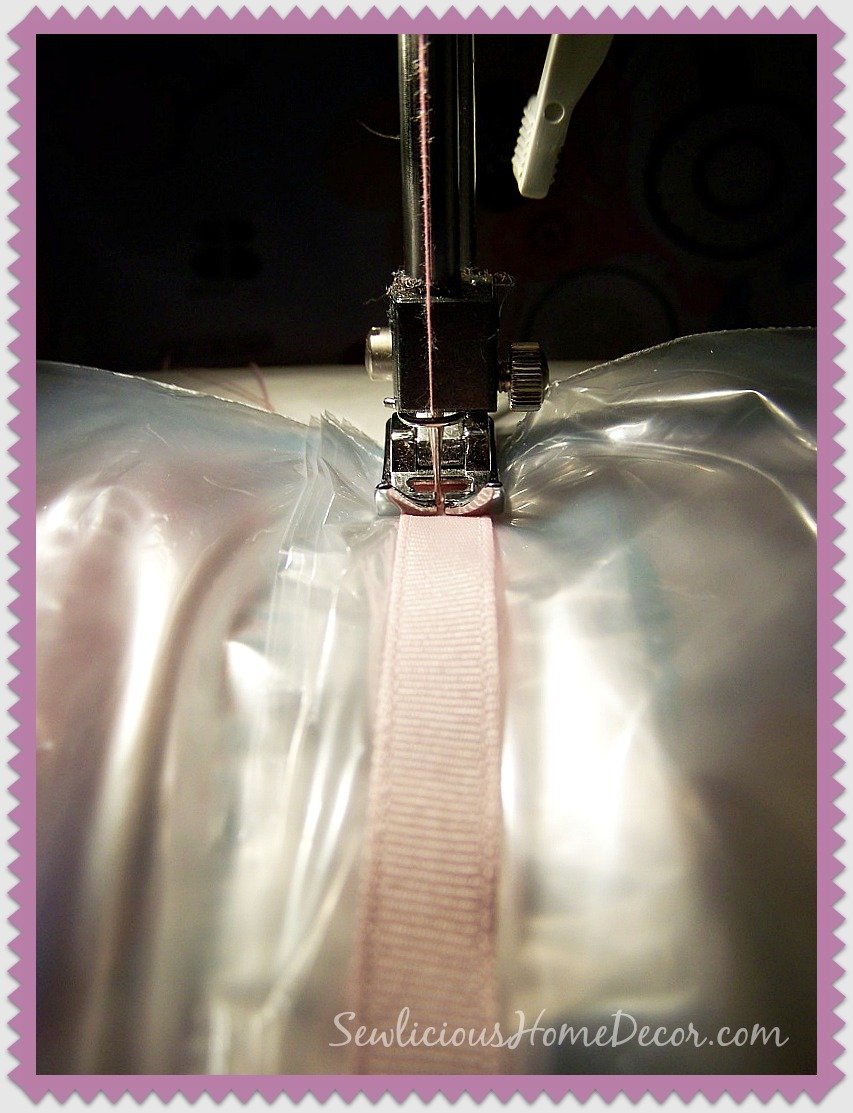 Fill it with your favorite things!
Enjoy! Make many they are sew easy!! Did you like this tutorial? PIN IT

Follow me on Pinterest for more inspiration!
Follow SewLicious Home Decor’s board SEW ~ BAGS, PURSES, ORGANIZERS on Pinterest.
Pot Holder Organizer

Embroidery Hoop Organizer

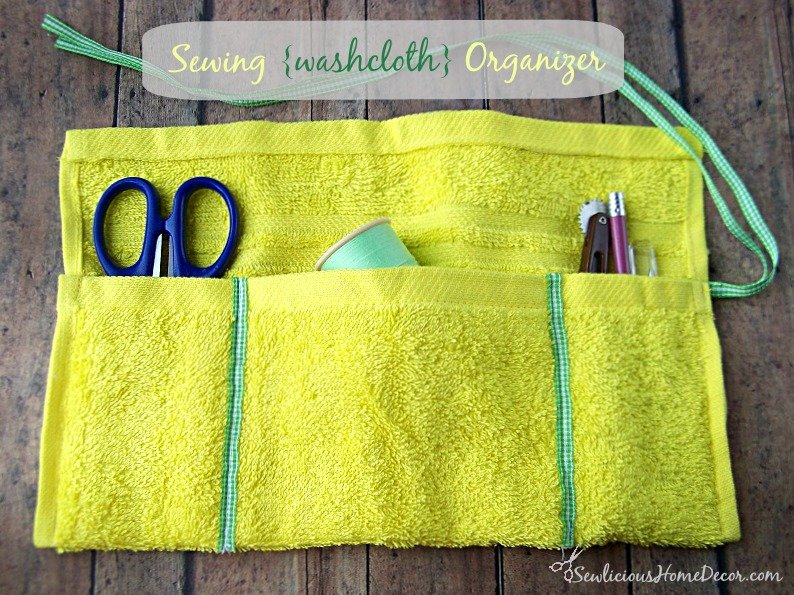
Washcloth Organizer
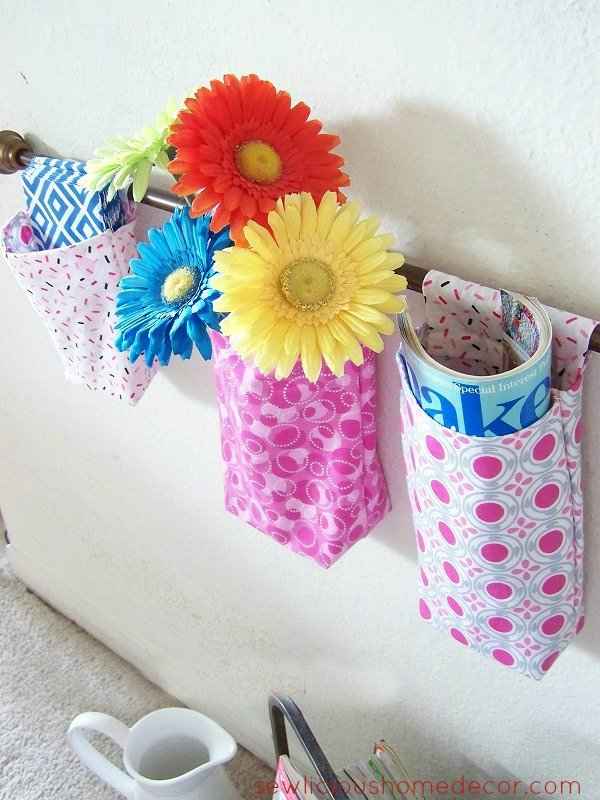
Hanging Wall Organizers
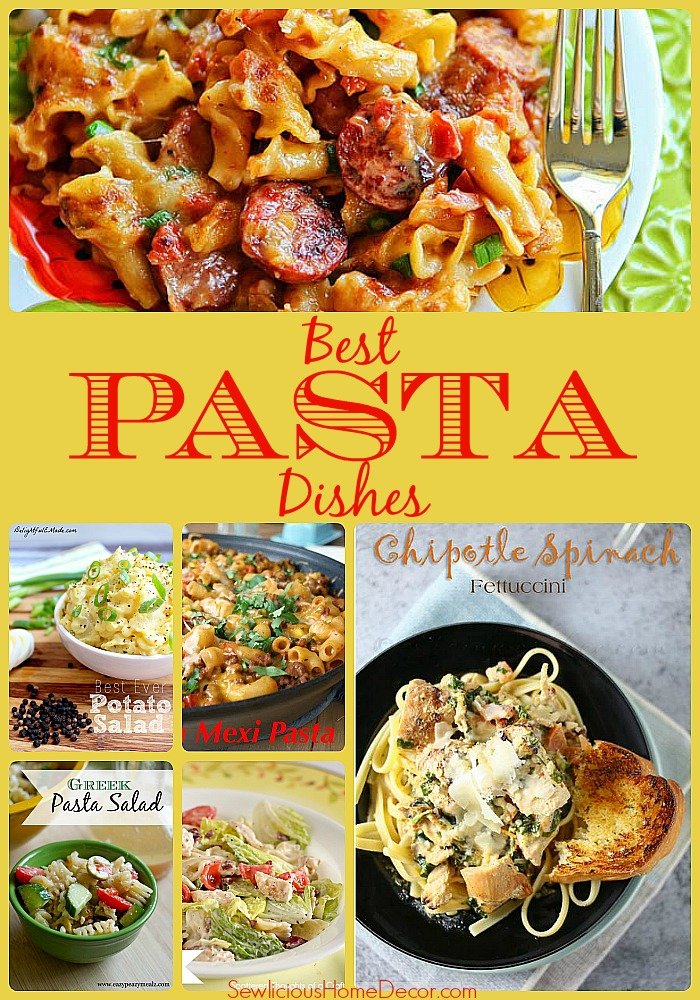
Best Pasta Dishes
 Follow SewLicious Home Decor’s board SEWlicious Sew’en Stuff on Pinterest. Follow SewLicious Home Decor’s board SEWlicious Craft Room & Organization on Pinterest. Follow SewLicious Home Decor’s board Pasta Dishes on Pinterest.
This post contains an affiliate link see my Disclosure Policy


Pingback: Show-Licious Craft & Recipe Party #20 - 3 Little Greenwoods
Pingback: Car Tips and Hacks for Traveling with Kids
Pingback: Sew Thankful Series ~ Gifts for the Kitchen ~ {Day 25}
Pingback: Placemat with Plastic Baggies Sewn Into A Roll up Organizer