


 278
278 26
26 2
2 7
7 1
1 0
0


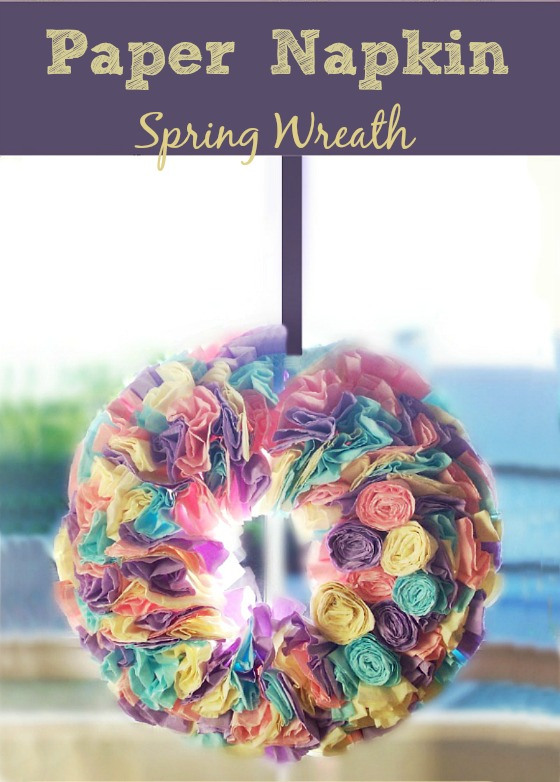
A beautiful Spring Wreath made from paper napkins. This wreath will go with any Spring decor. It’s bright and cheerful and festive. It’s made using pastel paper napkins cut into circles.
My friends at Party Pail provided the paper napkins for this project.
Can you believe this is made from paper napkins?! When Party Pail asked me if I would make a project using their napkins, I immediately knew the pretty pastel colors would be perfect for a Spring project!
Every year I have to make wreaths, just because I love them! I want one to match every room, I want one for every occasion, and I always have to have one for my front door.
Hmmm, I’m wondering if I have too many craft addictions. Is anyone else obsessed with wreaths like I am?!
I used the same tutorial for my coffee filter wreath, the only difference is I used paper napkins in place of coffee filters.
You can use any color combination of napkins to go with any occasion and any room decor. I’m already thinking of one to make for Christmas. I’m thinking the red napkins would be beautiful!
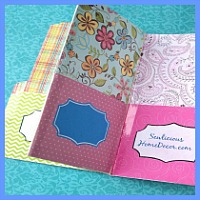
You can even make the roses from the same napkins.
Just use my felt flower tutorial and replace felt with napkins.
Are you dying to know how to make one!
You can use a straw wreath![]() or a wire wreath. I used a wire wreath and covered it in yarn before gluing on the napkins.
or a wire wreath. I used a wire wreath and covered it in yarn before gluing on the napkins.
You will need:
Wreath
Hot glue gun
200 Napkins
Ribbon to hang
1) Unfold your napkins and cut them out using a coffee filter as your guide.
2) Fold in half.
3) Find the center, and twist the end.
4) Apply hot glue and glue onto your wreath.
I made 4 in a row and went all the way around the wreath one row at a time.
Hot glue the roses on using this tutorial.
Add a ribbon to hang.

Follow SewLicious Home Decor’s board Wreaths For Any Day on Pinterest.

Related Posts
 278262710


Wow this is great and I love your tutorial on making the flowers. I need to try this! Thank you for linking up your Spring Project with us at Get Your DIY On.
Mandy @ The Hankful House Blog
You ROCK for linking up this week to Tip Me Tuesday {high fives} Just a heads up, Tip Junkie can help you index your blog more effectively if you upload at least 2 images, 2 steps, and blog post URL into your Tip Junkie craft room! Simply login and click “add a project” on your profile page to get started. {yep I’ve got your back!} ~ Laurie {a.k.a. the Tip Junkie}
Link ~ http://www.tipjunkie.com/how-to-add-a-craft-room-project-on-tip-junkie
Thanks so much for the party, Laurie!
I love it! It might have to be an indoor wreath, but it is so colorful!
Oh for sure! It probably looks like it’s outside because of the window, but I took the picture inside. Thanks for stopping by!
So pretty!
Thank you! I’m glad you stopped by!
This is sooooo pretty!
Thank you!
I love all the spring colors! What a great wreath, Marti! And no….I love wreaths everywhere as well!
Thanks for sharing your spring wreath with us a Project Inspire{d}!
Thank you, Diane! I was hoping there was someone else that liked then as much as I do!
This wreath is lovely, I like decorations for the house that are full of colours.
And it seems pretty easy too, thanks for sharing the tutorial!
Thank you! It’s very easy to make! And looks so elegant when it’s finished. You should give it a try, you will love it!
Cute and Spring-y!!! I love that first photo you took too! Julia
Julia
Thank you so much, Julia!! It was such a fun wreath to make and sooo easy!!