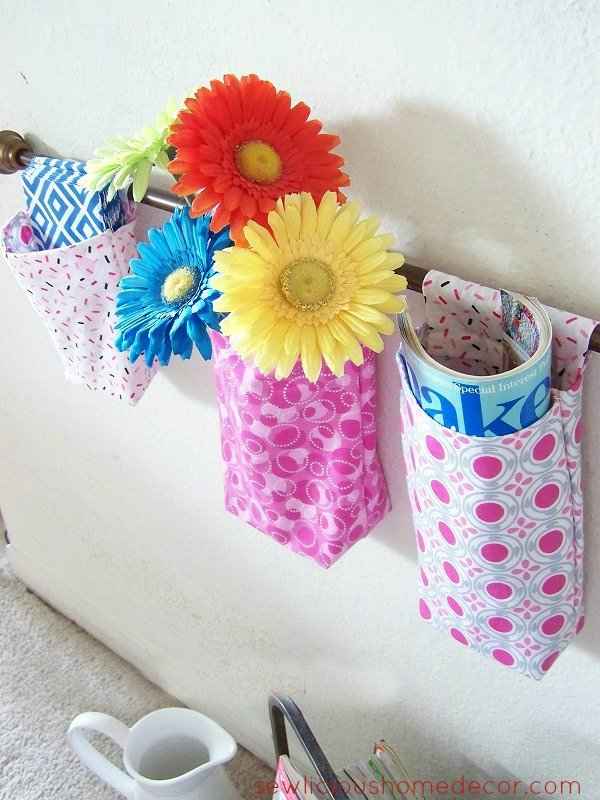
This Hanging Wall Organizer is great for kids rooms and craft rooms. The organizer is hung on the wall using a decorative curtain rod. Fill the pockets to keep things handy and at your finger tips!
Supplies Needed:
Fabric
Contrasting fabric
Iron on interfacing
The size of your fabric varies depending on what size you want your pockets to be. This tutorial is for the larger pockets.
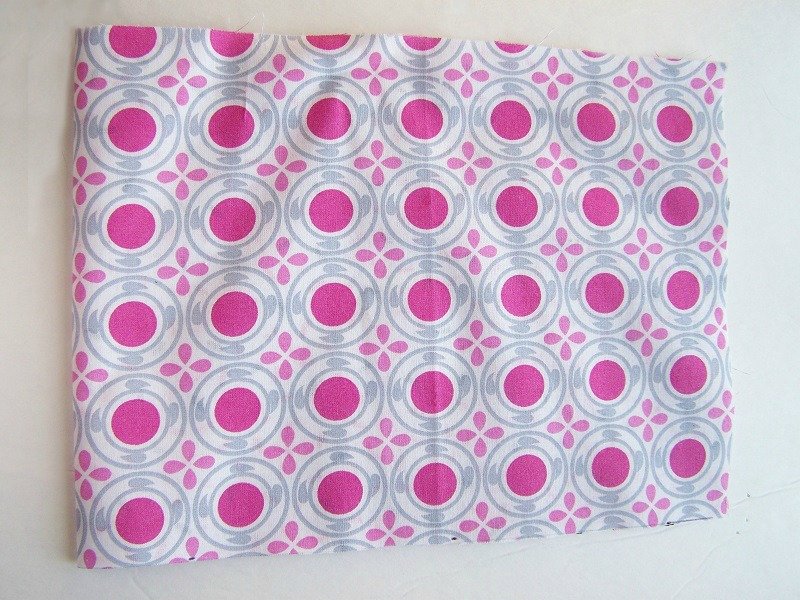
Cut one piece of fabric and one contrasting piece 20″ long and 6-1/2″ wide
Cut one piece of fabric 5″ long x 5″ wide. This is what your going to be putting the curtain rod through so make sure it will fit your rod. Fold the 5×5 piece in half and see if your rod will fit through it. If not, adjust the size accordingly.
Cut a piece of interfacing 20″ x 6-1/2, the same length.
Iron on interfacing to wrong side of fabric.
In this order lay fabric flat: Contrasting fabric piece right side down, then lay outer fabric piece wrong side down on top of the contrasting piece. Pen in place.
Put a 1/4″ hem on each end at top.
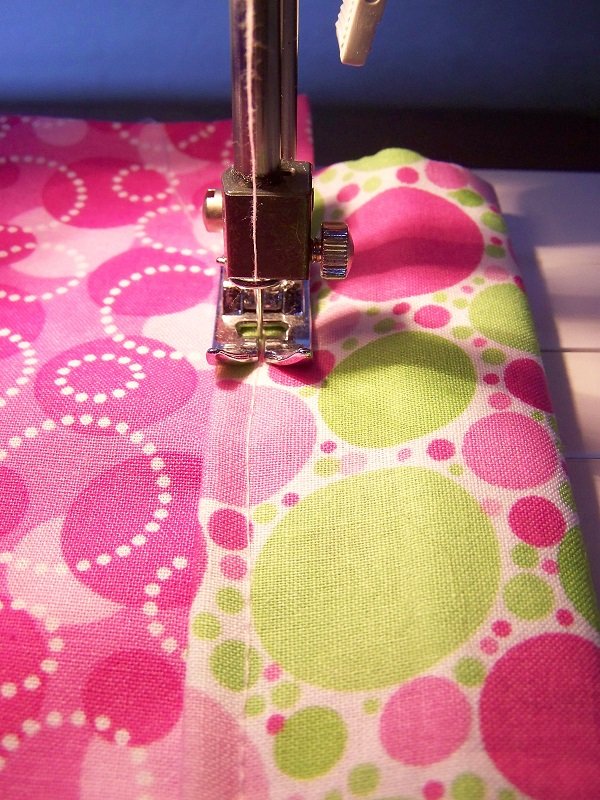
Fold up in half, wrong sides together. Sew up both side edges.
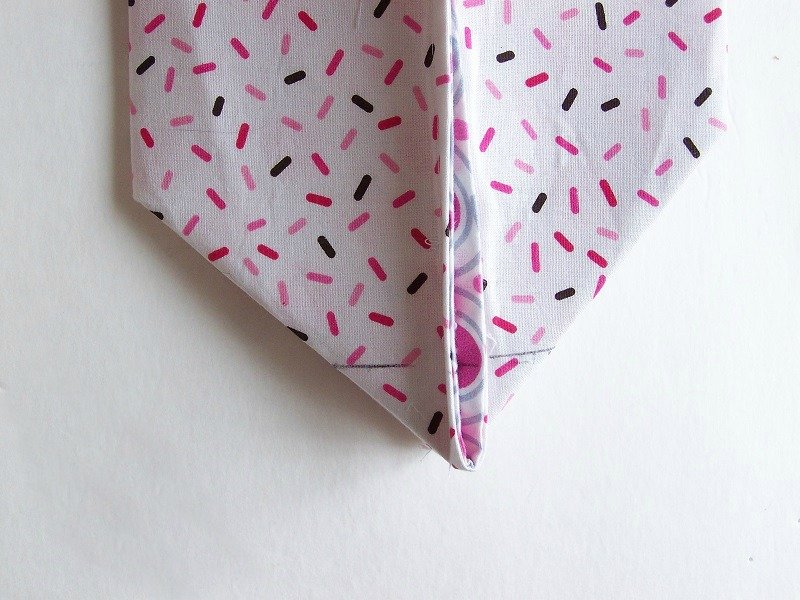
Sew the corners by marking 1″ on each corner with a fabric pen. Sew straight across marked area on both corners.
Your corners will look like this when finished.
Turn right side out.
Put 5″ x 5″ piece together with wrong sides facing each other, sew up the sides and ends leaving one small opening for turning right side out.
Find the center of the top pocket and the center of the 5″ x 5″ piece and place the 5″ x 5″ piece at the top of the pocket. Sew onto one edge of the pocket. This is what you’re going to put the curtain rod through. So only sew on about 1/4″ to the pocket so you will leave enough room to put the curtain rod through.
‘Like’ if you liked this tutorial!
Keep all your sewing supplies near by with this Sewing Machine Organizer tutorial.
Turn a tray into an Ironing Board for small projects.
It takes up less space and is so much easier to use than pulling out the large ironing board.
You can check out all my SEW Organized craft room ideas here!
Follow SewLicious Home Decor’s board SEWlicious Sew’en Stuff on Pinterest.


Pingback: Sewing Embroidery Hoop Organizer
Pingback: 27 Projects you can make to organize your sewing space and your life - Jacquelynne Steves
Pingback: Over 25 Easy Sewing Projects for Beginners or Advanced Sewers - SewLicious Home Decor
Pingback: Hanging Wall Organizer Sewing Tutorial - sewing mania club
Pingback: Pot Holder Organizer with Plastic Baggies Tutorial
Pingback: How to make a hanging organizer-Sewing
Pingback: SEW ORGANIZED! Magnetic Bobbin Holder
Pingback: Hanging Wall Organizer Sewing Tutorial | WHOLE LIVING WEB MAGAZINE: CRAFTS
Pingback: 29 Uses For Recycled Coffee Cans
Pingback: Hanging Wall Organizer
Pingback: Free pattern: Hanging wall organizers for your sewing or craft space | Sewing Patterns
Pingback: Free pattern: Hanging wall organizers for your sewing or craft space · Sewing | CraftGossip.com