
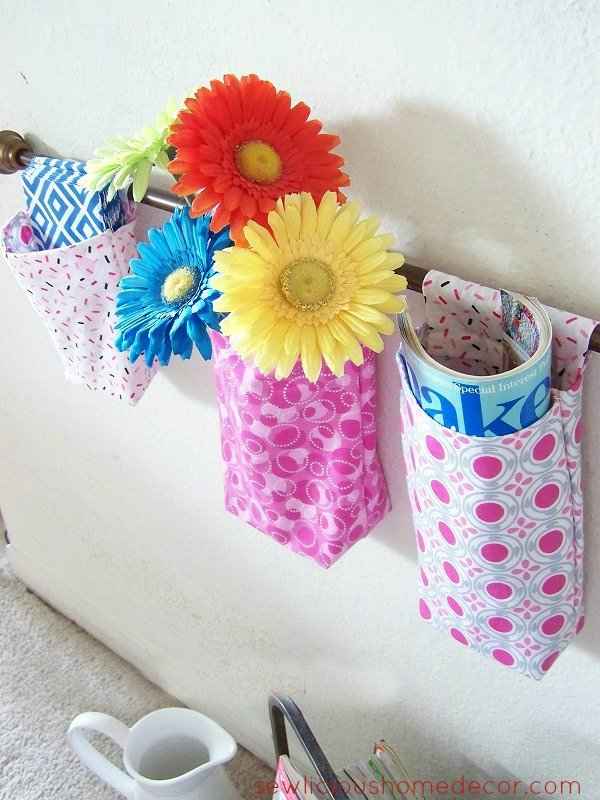
There are lots of ways you can get creative with making flowers. You can make them in all sorts of shapes and colors and with fabric, ribbon, or felt. They add such a nice addition to craft projects, because you can color coordinate them to match your decor and make them big or small whatever size you need. They are sew very easy!

Rip 3-4 strips of fabric about 1- 1/2 inches wide. You can make it wider if you are going to use it for a large surface. I used this one for a flower pot so I didn’t need it too big.
Fold the strips in half then either sew or put a dab of glue on each end.
Start rolling up the end, this will create the center.
Then start twisting the fabric as you roll it, adding a dot of glue as you go to hold it in place.
Keep twisting as you go until you have the the size you want. Glue the end to the flower then grab another strip and glue it on the flower and start twisting again.

When it’s the size you want cut a circle from card stock paper and apply glue. Glue the flower onto the paper and you’re done!

Want more?
See my tutorial on How to Make a Flower from Felt
Follow SEWlicious Home Decor’s board Flowers-How to Make Flowers and Flower Crafts on Pinterest.


Pingback: Sew Organized Chalkboard Flower Pot Organization
Pingback: Two Colored Felt Flower Tutorial
Pingback: Rose Bud Felt Flower Tutorial
Pingback: Felt Flower Step by Step Tutorial
Pingback: Flower Pot Pin Cushions