National Sewing Month-Guest Post {scientific seamstress}

Pin on Pinterest13Share on Facebook7Tweet about this on Twitter0Share on Google+0Share on StumbleUpon0Share on Reddit0Share on YummlyPrint this pageEmail this to someone
Hello everyone! I am happy to bring you another guest post from Scientific Seamstress! If you need a new outfit, you will be sure to find a pattern at her Etsy shop! She has lots of beautiful outfits to pick from. It’s had to just pick one! Today she is going to show us how she turns a bot tie into a girly outfit decoration….so cute!
Hi SEWlicious readers! My name is Jeanine and I work at the Scientific Seamstress. I want to say a BIG thanks to Marti for having us here today guest posting !

If you are unfamiliar with our patterns let me give a quick introduction. We are three sewing geeks, Carla (the talented pattern
creator/designer), Cathy, and myself (Jeanine). We firmly believe in high quality patterns and detailed sewing instructions. Each pattern has plenty of options and a great size range! Just like actual science our instructions are written in a clear, logical manner with extreme attention to detail. whether you are new to sewing or have been sewing for years, you will love the simplicity of the designs, the timeless feel of the styles and that you don’t have to lose precious sewing time to deciphering instructions. You can just relax and enjoy the sewing process. The Scientific Seamstress line is a good basic look with a touch of boutique whimsy and the Sisboom line of patterns are a collaborative work with the renowned fabric designer Jennifer Paganelli. Between these two lines there is something for all ages, sizes and tastes!

Today I am going to take one of our free patterns, the Bosco Bowtie and use it to add a bit of fun to our Portrait Peasant dress.

Now of course the bowtie pattern is completely adorable as a bowtie, but I only have daughters and so I decided to girl up the bow tie by adding it to a dress
First I pinned and stitched some ric rac down along the seam (I used the empire bodice option). This step is not necessary, but I just LOVE the look a bit of ric rac gives the finished dress.
Next I took a sew on snap back and stitched it on. I put the bow over the dress and tried a few different spots out and decided I wanted it a bit off center. I didn’t want it to get lost in the sides but also did not want it to be smack dab in the middle.
And I stitched the opposite snap onto the back of the bow tie (which I did 100% sewn)

Now the bow just snaps on and off the dress!! I know what you are thinking, “Why not just sew the bow right onto the dress?” The reason I did not sew the bow right onto the dress is this, I have done that before, and after once through the washing machine that bow never looks the same! So this way I can snap it off and keep a perfectly perky bow and have a clean dress!
Doesn’t the bowtie just add the perfect finish to the dress?! I absolutely love it! I personally find the fun in sewing is in the
finishing details, those extra touches that take it from plain to fabulous
I also made another bowtie and attached it to a clip for a cute hair accessory ! The oldest was a tad jealous the youngest got a bow on
her dress and NEEDED to have a bow as well.
To best keep up to date with our happenings (new patterns, sales, and to connect with us) join us in our facebook
group! We’d love to see you there!
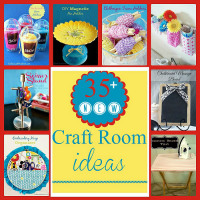
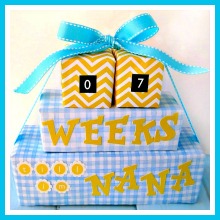
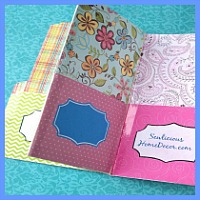
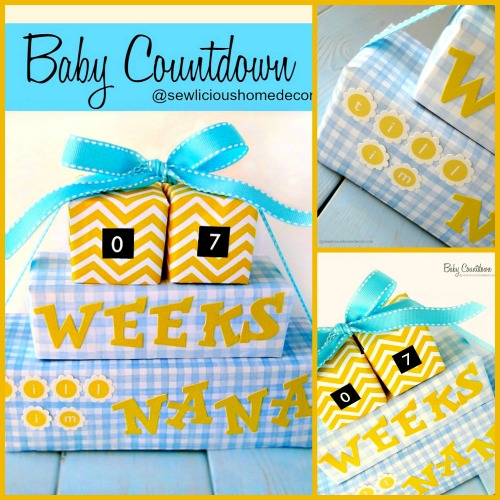
Thanks again for having us Marti!
Pin on Pinterest13Share on Facebook7Tweet about this on Twitter0Share on Google+0Share on StumbleUpon0Share on Reddit0Share on YummlyPrint this pageEmail this to someone

Comments

comments

Comments

Leave a Reply

Your email address will not be published. Required fields are marked *

You may use these HTML tags and attributes: <a href="" title=""> <abbr title=""> <acronym title=""> <b> <blockquote cite=""> <cite> <code> <del datetime=""> <em> <i> <q cite=""> <s> <strike> <strong>