
This post contains affiliate links. See my Disclosure Policy.
I love sewing and making crafts, and I also love baking.
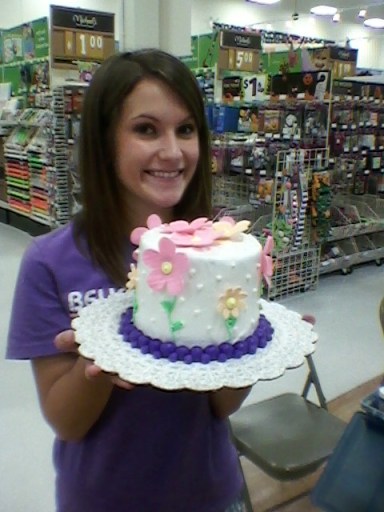
My daughter and I took a Wilton cake decorating class together and we got to learn how to use their decorating tips to decorate cakes and cupcakes. Her’s turned out much prettier than mine, so I’ve been practicing ever since and now I’m addicted and addicted to all things Wilton!
Before the class I had no idea how to use a pastry bag let alone what tips to use. It seems so simple, but if you’ve never done it before you can feel lost at first.
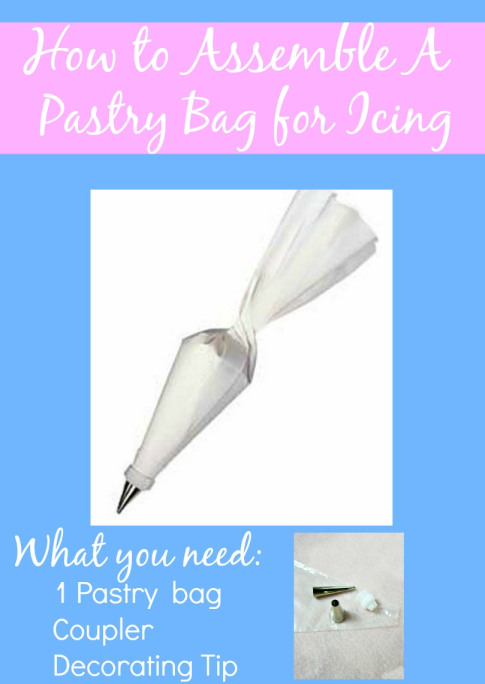
So here is a step-by-step tutorial on how to assemble a pastry bag for icing or meringue. I love using it for meringue too, it makes it so pretty.
It’s really very easy!
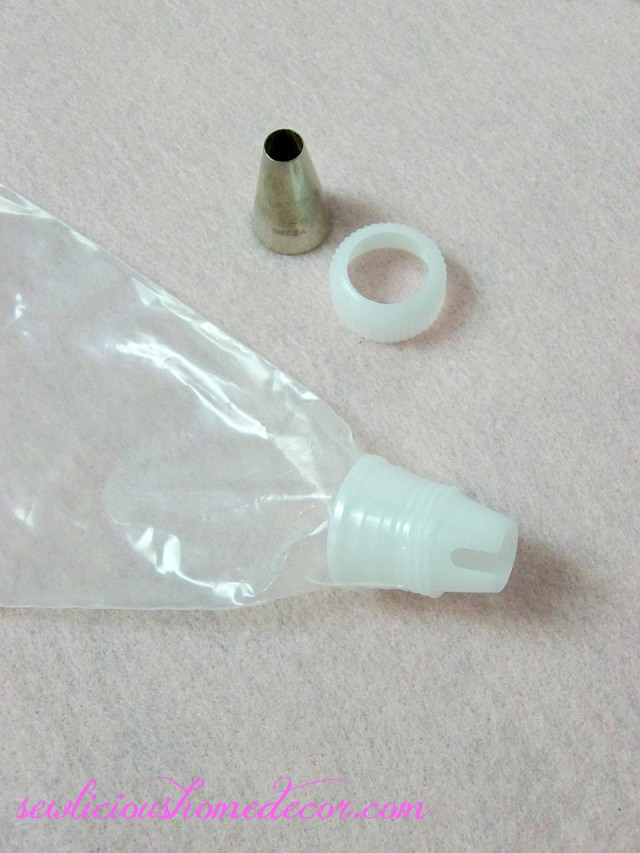
First what you will need are Wilton Disposable Decorating Bags. They also have plastic Wilton Piping Bags that you can wash and re-use. It’s really whatever you prefer. I like the disposable ones because after I’m done making a batch of cupcakes and icing my sink is full of dishes, so I like that I can just throw these away instead of having one more thing to wash!
Next, you will need a Wilton Coupler. This is what holds the decorating tip in place.
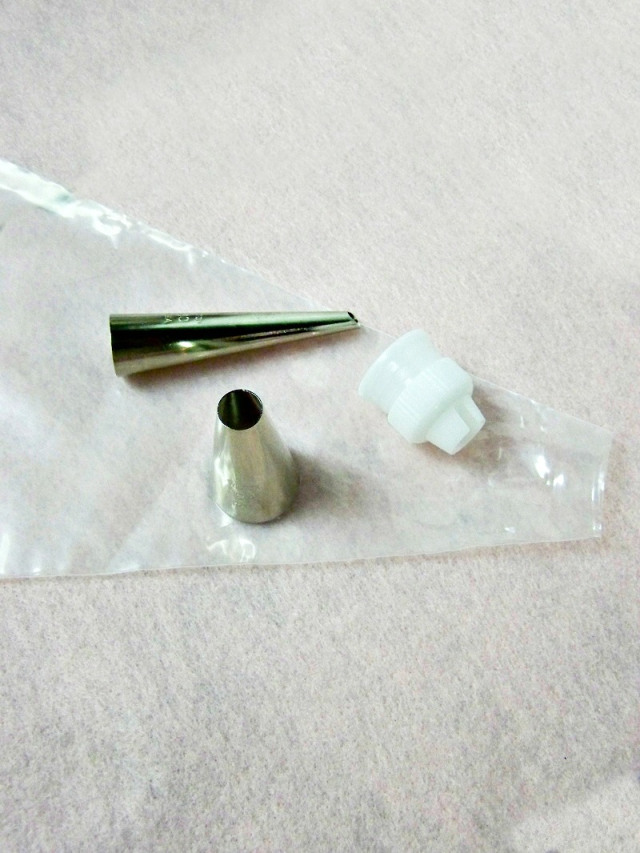
And lastly, you will need decorating tips. There are many to pick from. I will just share a few I use the most. The one made for filling cupcakes is the long one in the pic below. It’s called a WILTON ROUND TIP #230. The other one I use a lot that makes icing pretty is a WILTON OPEN STAR TIP - 1M.
Or, if you want to experiment with more you can buy a set Wilton 28-Piece Deluxe Tip Set![]() . It makes for a fun project on a rainy day!
. It makes for a fun project on a rainy day! ![]()
![]()
First, unscrew the Wilton Coupler. Place the large piece inside the Decorating Bag. Measure how much of the tip you need to cut off. Cut just where the grooves begin.
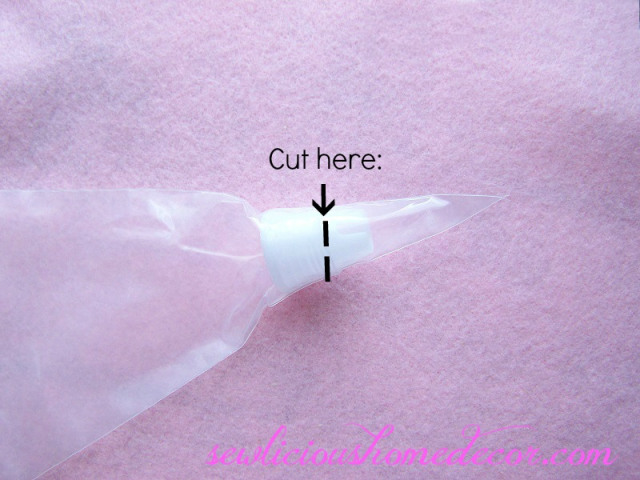
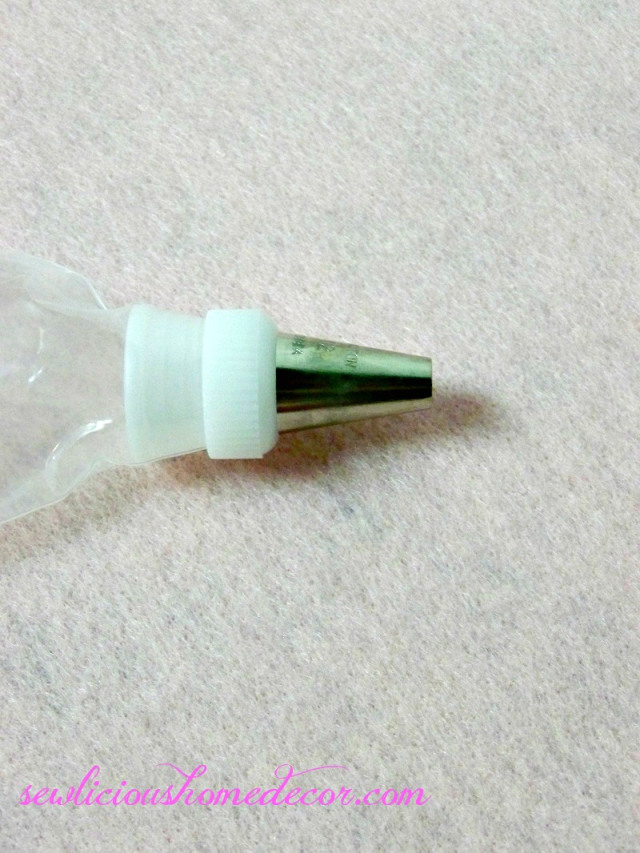
After you cut off the tip of the pastry bag, leave the coupler in the bag as shown.
Now assemble the coupler on the outside of the bag by first adding your tip, then screw the coupler on as shown.
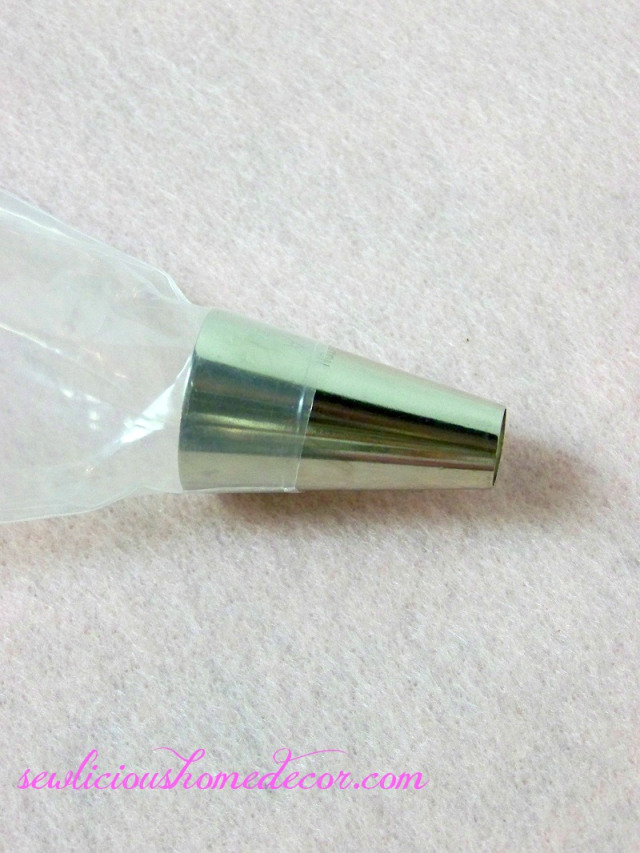
Some of Wilton’s tips are very large and will not fit on the coupler. For those, you just cut off the tip and drop them into the bag without a coupler.
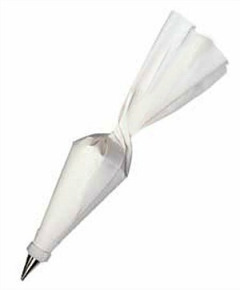
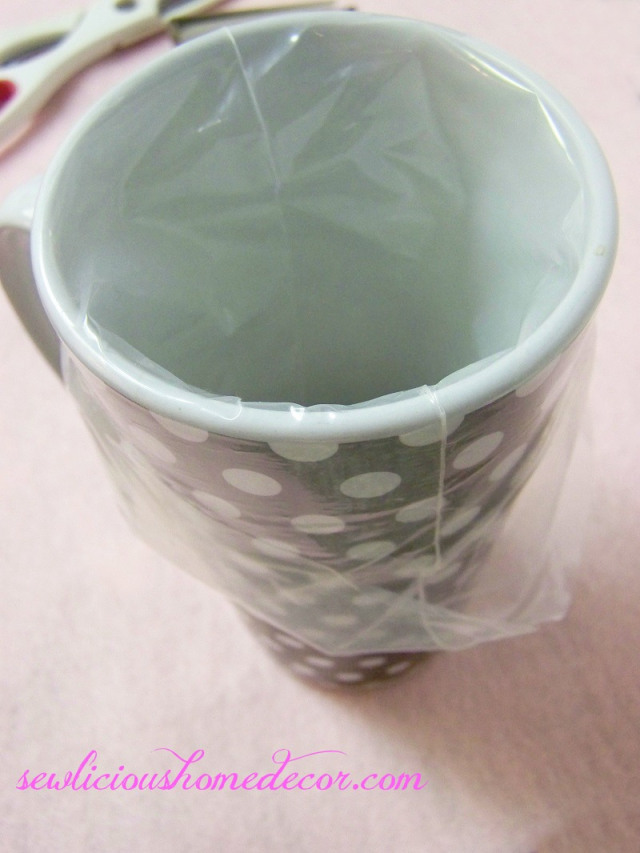
To fill the bag, put the bag inside a cup and fold the edges of the bag over the cup. Using a spoon or a spatula fill the bag with icing or meringue. Remove the bag from the cup and twist the top a few times to close the top and keep the icing from coming out of the top of the bag. Then holding the top of the baggie, squeeze it until icing comes out.
Don’t worry. If it doesn’t turn out the way you want the first time, keep practicing! Practice makes perfect for this project. The more you experiment the easier it becomes!

Follow SEWlicious Home Decor’s board Cooking Tips-Kitchen Helpers! on Pinterest.
This post contains affiliate links. See my Disclosure Policy.

Pingback: Hot Fudge Sundae Cupcakes
Pingback: Best Banana Pudding Cupcakes