CRAFTS RECIPES                                                                                                                                                                                                                                                                                                                                                                                                                                                                        
  • home
  • about
  • contact
  • work with me
  • the kitties


  • CRAFTS
    • Crafts
    • Craft Room
    • Helpful Tips
    • Tutorials
    • Wreaths
    • Recycled/Upcycled
    • Mason Jars
    • Paper Crafts
    • Printables
      • Gift Tags
    • Round Ups
  • SEWING ROOM
    • Sewing Room
    • Sewing Tips
  • DOLLAR STORE CRAFTS
  • ORGANIZATION
  • CLEANING TIPS
  • CLASSES
    • Craftsy
    • Photography 101
  • SEASONAL
    • Fall/Halloween/Thanksgiving
    • Pumpkins
    • Summer/Spring
    • Valentines
    • Easter
    • Christmas
  • RECIPES
    • Recipes
    • Baking Tips
    • Desserts
    • Pies
    • Breakfast
    • Cookies
    • Cakes
    • Cupcakes
You are here: Home / Sewing Room / Eyeglass Case Sewing Kit

Eyeglass Case Sewing Kit

on June 4, 2014

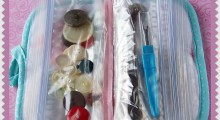
Hello friends! Thank you for joining me for this weeks Sew Organized Craft Room feature! Today I’m featuring how to turn a dollar store eyeglass case into a sewing kit. It’s perfect to take with you to your sewing classes or keep in your purse for emergency situations!

An Eyeglass Case Sewing Kit at sewlicioushomedecor

What you will need:

1 Eyeglass case

Fabric

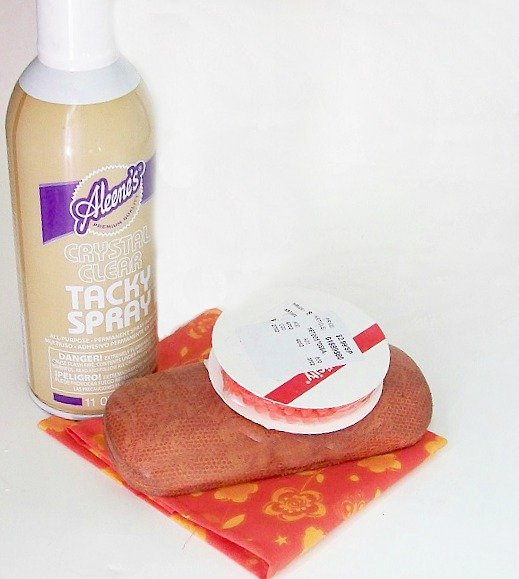
Spray on or paint on adhesive glue

Trim

Hot glue gun

Sewing supplies

supplies

Measure the size of fabric you will need to cover both sides. You can cover the inside if you wish. Mine just happen to match my fabric so I didn’t cover the inside.

Spray or paint your adhesive glue on one side at a time, then apply fabric. Trim edges. Repeat for other side.

Using a hot glue gun apply trim.

I also made a pin cushion.

PicMonkey Collage

Then, fill with sewing supplies. Close and go!

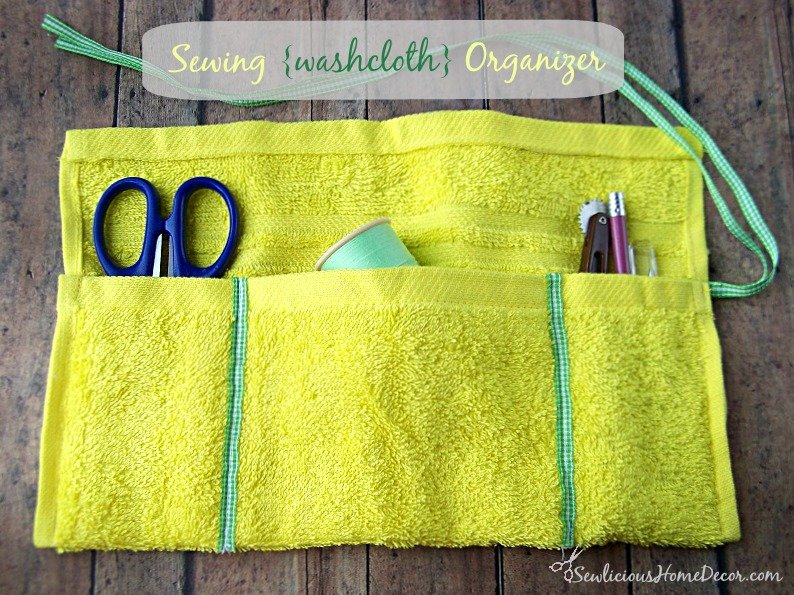
See all my Sew Organized Craft Room features here!


Washcloth Rollup Organizer

#Sewing Washcloth Rollup #Organizer Tutorial at sewlicioushomedecor.com


follow-me-on-pinterest-button

Follow SewLicious Home Decor’s board SEWlicious Craft Room & Organization on Pinterest.

Follow SewLicious Home Decor’s board SEWlicious Sew’en Stuff on Pinterest.


Comments

  1. Kim says

    August 12, 2016 at 10:10 am

    This is adorable! Love the mini ball trim! Sharing today on the #P3Party! Thanks for pinning! Kim
    Reply
    • Marti@SewliciousHomeDecor says

      August 12, 2016 at 10:32 am

      Thank you for sharing it!! :)
      Reply
  2. Val says

    June 10, 2014 at 12:30 am

    Marty this is the cutest sewing kit ever. I love that it's a hard-side glasses case. Things do have a way of getting beat up inside our purses at times! Thanks for a super easy tutorial, as always! Val @ artsybuildinglady.blogspot.ca
    Reply


Leave a comment and let me know what you think!

Leave a Reply Cancel reply

Your email address will not be published. Required fields are marked *

SEWING

Placemat with Plastic Baggies Sewn Into A Roll up Organizer

Easter Egg Zipper Pouch with Key Holder Tutorial

Free Sewing Printables Monthly Planner

DIY Christmas Sewing Kit

Christmas In The Sewing Room Sewing Ornament

Recycled Food Safe Oreo Cookie Bag to Zipper Bag

Sew Ready Machine Basics Sewing Class

Pot Holder Organizer with Plastic Baggies Tutorial

Page 1 of 6 123456Next »
  • Popular
  • Recent
  • Comments
2 Weeks Of Craftsy Unlimited For Just $1 at Craftsy.com 4/18-4/24/18.
  Cake Decorating Supplies
Hosted by "Callie"

WE’VE BEEN FEATURED!


pg. 37 DIY Rooster Jar
Craftsy Unlimited FREE 7 day trial at Craftsy.com

JOIN US!

Get the eBook FREE when you join!