
DIY Interchangeable and Washable Scented Hot Pads
These interchangeable and washable scented hot pads will be your kitchens new best friend! They are scented to make your kitchen smell good and they keep hot pots and pans from burning your countertops. You can make several using many different scented oils or cinnamon or any of your other favorite spices.
These are super easy to make. This is a perfect tutorial for beginners.
Directions
- Place your list items here

SUPPLIES
One piece of fabric cut 15 1/2 x 7 1/2
One piece of Muslin cut 13 x 7
2 Cups of rice, uncooked or coffee beans
Scented oils You can find them at Walmart in the candle section
Plastic baggie

Pre-wash your fabric so it won’t shrink later!
The first thing you will need to do the day before is put 2 cups of dry, uncooked rice in a plastic baggie, add 5-6 drops of scented oil; shake well. Refrigerate overnight.

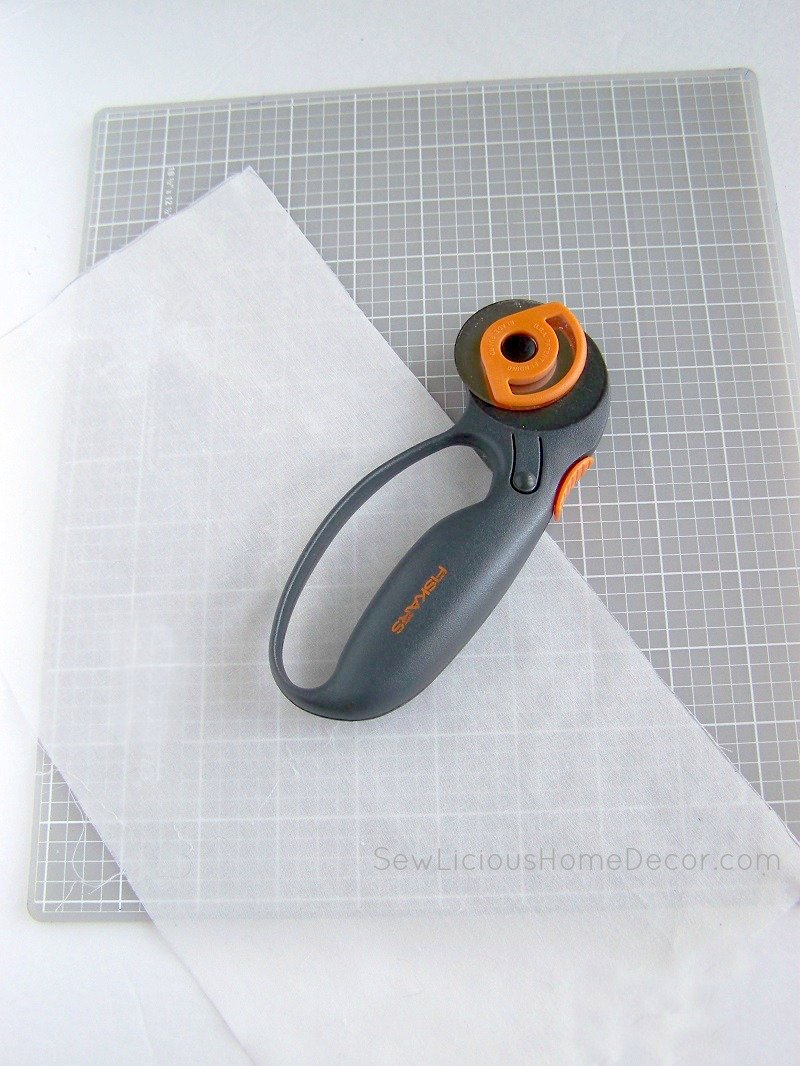
Cut out your material. Cut your fabric 15 1/2 x 7 1/2.

Cut your muslin 13 x 7
Hem 1/4 inch hem on the two long ends of the fabric.

Fold the bottom end 3/4th’s the way, about 5 inches from the top.

Fold the other end (top end)over about 2 to 2 1/2 inches. Making sure that the hem covers the hem on the bottom piece, so that the only hem showing is the hem from the top that you just folded down, as shown.
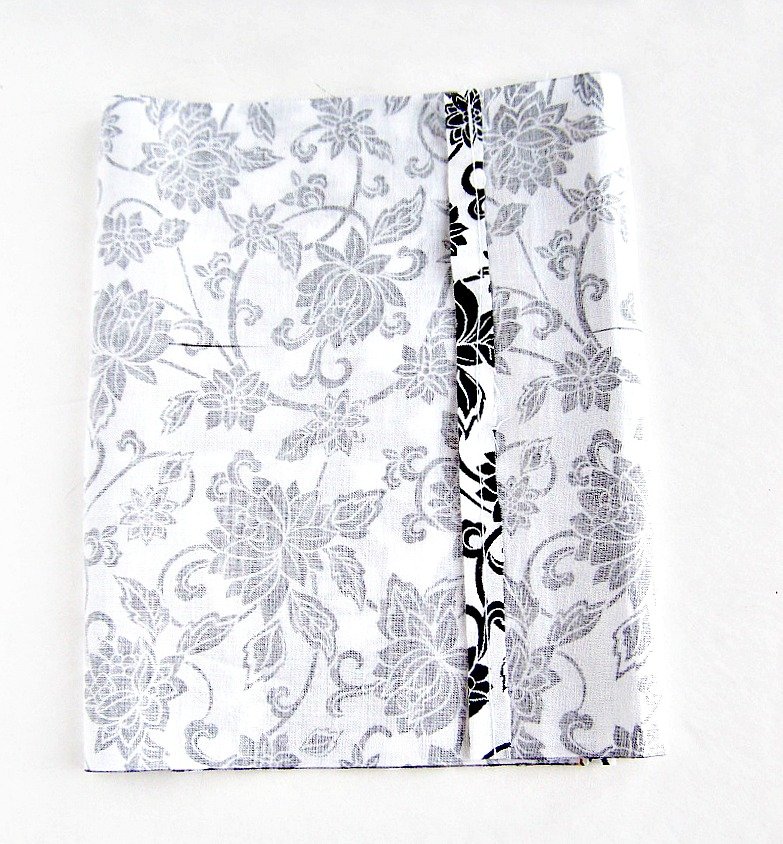
Next, sew each side together, as shown.

Turn it right side out. Now you have a cute hot pad pocket ready for your scented hot pad!

Fold your muslin in half and sew up the edges and top, leaving a space open large enough to pour in the rice.

Fill your muslin hot pad with rice. Sew up the opening by folding in the 1/4 hem, as shown.

Sew opening closed.

Now, insert it into your hot pad pocket and you have a nice scented hot pad! They make your kitchen smell wonderful and make great gifts.


WAIT, THERE’S MORE!
You may also like this Insulated Loaf Pan Carrier made from a Dollar Store towel!


Craft Room Ideas: Mug Stand Turned Into A Scissor Stand


Pingback: Easter Egg Zipper Pouch with Key Holder Tutorial
Pingback: Over 25 Easy Sewing Projects for Beginners or Advanced Sewers - SewLicious Home Decor
Pingback: DIY Interchangeable Scented Hot Pads tutorial - Sewing 4 Free
Pingback: DIY Heart Shaped Pot Holder with Binding Tutorial
Pingback: 5 DIY Projects You’ll Love! #CreateLinkInspire « Create Link Inspire Features « Marvelous Mommy
Pingback: DIY Magnetic Pin Holder